Thursday, April 17, 2014

koulourakia


Greek butter cookies. These cookies are typically made around Easter, to be eaten after Holy Saturday, but sometimes my honorary γιαγιά (ya ya) that lives next door bakes up a batch for me. Some koulourakia recipes have everyday pantry ingredients and their mixing technique is basic, but boy are these cookies a labor of love. Each cookie is rolled into a rope and hand twisted. And if you make the entire recipe, you could be hand forming anywhere between 4 to 6 dozen. Yikes! I halved the recipe because this was my first time making them. 


I should have asked my neighborhood γιαγιά for her recipe but I when I searched the web, they all seemed relatively the same. Some recipes had orange juice in them, or ouzo, and even sesame seeds sprinkled on top. I went with a little orange zest in my recipe with a simple egg wash.

Koulourakia
slightly adapted from The Cookie Crumbles
1/2 of the original recipe - makes 30 cookies

INGREDIENTS
3/4 cup (1-1/2 sticks) unsalted butter - room temp
3/4 cup sugar
1-1/2 teaspoon vanilla extract
1/2 teaspoon finely grated orange zest
1 plus 2 tablespoons large egg - room temp ***1 large egg is roughly 4 tablespoons or 1/4 cup. Whisk the whole egg and divide. Same remaining 2 tablespoons of egg for egg wash.***
3 cups all-purpose flour
1-1/2 teaspoon baking powder
1/2 teaspoon baking soda
1/2 teaspoon kosher salt

egg wash - remaining 2 tablespoons egg 

Preheat oven to 350ºF. Line 2 baking sheets with parchment paper and set aside.

In a large bowl, with a hand held or stand mixer, cream butter and sugar until light and fluffy. Add orange zest, vanilla extract, and eggs. Mix until combined.

In another bowl, whisk together flour, baking powder, baking soda, and salt. With your mixer on LOW speed, slowly add the dry ingredients to the wet ingredients until thoroughly mixed.

Using a 3/4 ounce cookie scoop or tablespoon, scoop out dough. Gently squeeze together if it looks a little dry and slowly roll out into a 6-inch small rope/snake. Twist into a desired shape.


Brush with the egg wash. Bake for 10 - 18 minutes depending on the shape. Remove when cookies are light golden brown. Let cool for a couple of minutes before transferring to a wire rack. 


Καλό Πάσχα!!!
Happy Easter!!!

Saturday, April 12, 2014

vegan & gluten-free peanut butter cookies


I'm ALWAYS looking for healthy alternatives when it comes to baking. And when I stumbled upon Blissful Basil's Soft and Tender Peanut Butter Cookies that were vegan AND gluten free, I quickly gathered up the ingredients. These cookies are so friggin' good that you don't miss the butter or all-purpose flour in their taste or texture. The oily natural peanut butter keeps them moist and the oat flour gives them a toothsome chew. I found some helpful hints from the original recipe and totally rolled with them. Also bumping up the salt because I love salty-n-sweet.

Vegan & Gluten-Free Peanut Butter Cookies
HUGE THANKS to Ashley at Blissful Basil for blogging this recipe

INGREDIENTS
1 cup peanut butter ***Use the oily, natural, no-stir stuff!***
1 cup brown sugar ***Apparently not all brown sugars are gluten-free. Check your labels.***
2 teaspoons vanilla extract
1 cup oat flour ***Grind your own oat flour by pulsing gluten-free whole oats in your food processor. 2 - 3 minutes for a fine flour or 1 - 2 minutes for flour with a little texture.***
1 teaspoon baking soda
1/4 teaspoon kosher salt
1/4 cup almond milk

Preheat oven to 350ºF. Line two cookie sheets with parchment paper and set aside.

In a large bowl, cream together the peanut butter and brown sugar for 1 minute. Add in the vanilla extract and beat for another 30 seconds. ***I used my stand mixer fitted with a paddle attachment.***

In a separate bowl, whisk together dry ingredients - oat flour, baking soda, and kosher salt.

On low speed, slowly add the dry ingredients to the peanut butter mixture. Mix until a crumbly dough forms. Add the almond milk and mix until thoroughly incorporated. Do not over mix.

With a 3/4 ounce cookie scoop (1-1/2 tablespoons), scoop out dough and roll into balls. Place on parchment lined sheets approximately 3 inches apart. With the tines of a folk, gently flatten one way and then the other to create a crisscross pattern.


Bake for 8 - 10 minutes or until the edges are just starting to turn golden brown. ***All ovens are different. I baked mine for 14 minutes, but keep your eye on them.*** Remove from oven. After a couple of minutes, transfer them to a wire rack to cool completely. Store in an airtight container.


Makes approximately 24 cookies.

Friday, March 21, 2014

making miniatures

Making miniatures has nothing to do with dough or batter. But I have become obsessed ever since I was asked to help a client's daughter create a homemade doll house for a class project. Doll house rules: Everything about the house has to be homemade, inside and out. So no store bought furniture. I hope she can get away with using this store bought crocheted doily as an area rug…..


I found inspiration in my life-size kitchen with mini cupcake liners for a mini lamp shade. Super cute!


For the base of this mini club chair, I used a piece of cardboard tube from a roll of toilet paper. I made a template with other cardboard recycled from my pound of unsalted butter for the back and covered each piece with oatmeal felt and hot glued it all together. The quarter is there to show you that it really is to scale :)


In the clearance section of Michaels I found these cute chevron painted bottle caps and then I found a bag of wooden peg legs. A little hot glue and voila! An instant miniature side table or stool.


The miniature couch is just two pieces of sturdy cardboard, a little batting and covered in heather grey felt. Four wooden beads keep it off the ground and finished with a few tiny pillows. I glued and stitched the little turquoise blue pillows and the beige ones are jewelry pillow rejects from my previous employer. :) The coffee table used to be a pair of earrings that I never wore. For the floor lamp, I glued some clear beads together and attached it to another bottle cap.


My attempt at making a mini chandelier…..


Metal champagne caps can easily be twisted into cute chairs like they are here, but since I haven't had any champagne lately, I twisted my own with 20 gauge wire. More colored felt completed the chair base, pillow & rug. I used a cork for a side table. The lamp is made from a wooden bead, toothpick and a mini gold cupcake liner.


I kind of wish I had these pillows on my bed!!!


The futon bed is made from popsicle sticks that have been hot glued together. Felt and batting make the mattress.


This IS a homemade project so please don't judge the messy hot glue.


This miniature palm tree is made from wire, green floral tape and a cork.


Popsicle sticks make another appearance in this lounge chair and bench along with more felt, batting and a couple of small empty spools.


For the round yarn rug, cut out a piece of complementing felt. Place a small dab of hot glue in the center of the felt round and attach the yarn. Add more hot glue and start to coil around until you come to the end of the felt.


Sunday, March 16, 2014

being inspired & springtime flower sugar cookies


Today's high of 55ºF and the talents of Lizy B totally inspired me to create my last order for springtime flower sugar cookies.


I am often blown away by so many creatives and Elizabeth of Lizy B just blew my mind with her beautiful florals that I thought I'd give it a go with my very own. 


I cut out small circles of dough for the center of each flower cookie, filled it with royal icing with matching pollen dots.


Each flower sugar cookie gets bagged, heat-sealed, and tied with a spring colored ribbon.


happy spring!!!

Friday, March 14, 2014

homemade girl scout trefoils

It's the month of March, almost spring (thank goodness), and Girl Scout Cookie season!!! I am patiently waiting for the east coast's Girl Scouts to distribute their cookies, but in the meantime I'm baking up a batch of my very own Trefoil cookies. Although my cookie cutter isn't exactly in the shape of a trefoil, it does imprint the cookie with the Girl Scout's iconic image.


My Mom always bought us Girl Scout Cookies when we were little. My favorites back then were the Thin Mints and the Do-Si-Dos. My current favorite is the Samoas/Caramel deLites. But when it's not GS cookie season, I make my own which I blogged about here.


Trefoil cookies can be a little boring and aren't my go-to cookie if I'm aching for something sweet. Especially since the recipe changed a while back and they no longer sprinkle any crunchy sugar on top. Nonetheless it was my Mom's favorite GS cookie and if she were still alive today, I'd package these up and send them to her.


My Trefoils are made with a sugar cookie dough, but traditionally they're made with shortbread. I carefully brushed a little egg white around the edges and dusted them with sparkling sugar.


If you'd like to make your very own homemade Trefoils, check out this shop on Esty to buy a cute cookie cutter like this one. 

PS….Please don't think I'm showing any disrespect towards the Girls Scouts and their cookies. I still support them and buy them happily every year. :)

Saturday, January 18, 2014

vegan cinnamon pull-apart bread

Happy 2014!!! 
I'm back from vacation and it's taken me a couple of weeks to come back to reality. I totally blew my vegan diet while I was away and I admit I also cheated a bit with Momofuku Milk Bar's Birthday Cake that I get every year for my birthday. But now that all of the festivities are over, it's time to get back on my vegan train. Check out my vegan version of cinnamon pull-apart bread…..


I searched all over for a pull-apart bread recipe that didn't contain any eggs since I'm still trying to get used to chia/flax egg replacements. I found The Pioneer Woman's recipe and simply swapped out dairy for non-dairy ingredients. The Pioneer Woman also photographs every step, so if you need more visuals, visit the link.

Cinnamon Pull-Apart Bread
thank you Pioneer Woman
serves 6 - 10

INGREDIENTS
For the DOUGH:
1 cup soy milk
1/4 cup canola oil
1/4 cup sugar
1-1/8 teaspoons active dry yeast
2-1/4 cups all-purpose flour
1/4 teaspoon baking powder
1/4 teaspoon baking soda
1 teaspoon kosher salt

For the CINNAMON SUGAR:
1/4 cup vegan butter - softened/room temp ***I used Earth Balance***
1/2 - 3/4 cups sugar
1-1/2 tablespoons ground cinnamon

For the ICING:
1 cup powdered sugar
2 - 3 tablespoons soy milk
tiny splash of vanilla extract
pinch of salt

To make the DOUGH:
Combine milk, canola oil, and 1/4 cup sugar in a medium saucepan. Heat until hot but not boiling. Turn off heat and allow to cool to warm.

Sprinkle in the yeast and add 2 cups of flour. Stir to combine, then put the lid on the pot and allow to rise for 1 hour. After 1 hour, stir in an additional 1/4 cup flour, along with baking powder, baking soda, and salt. ***I dumped mine out onto a lightly floured surface and used my hands to work in these ingredients.*** If the dough is sticky, stir in another 2 tbs. - 1/4 cup flour. ***Mine was perfect after the first 1/4 cup of flour.*** 

Place dough in the fridge for at least 1 hour to make it easier to work with.

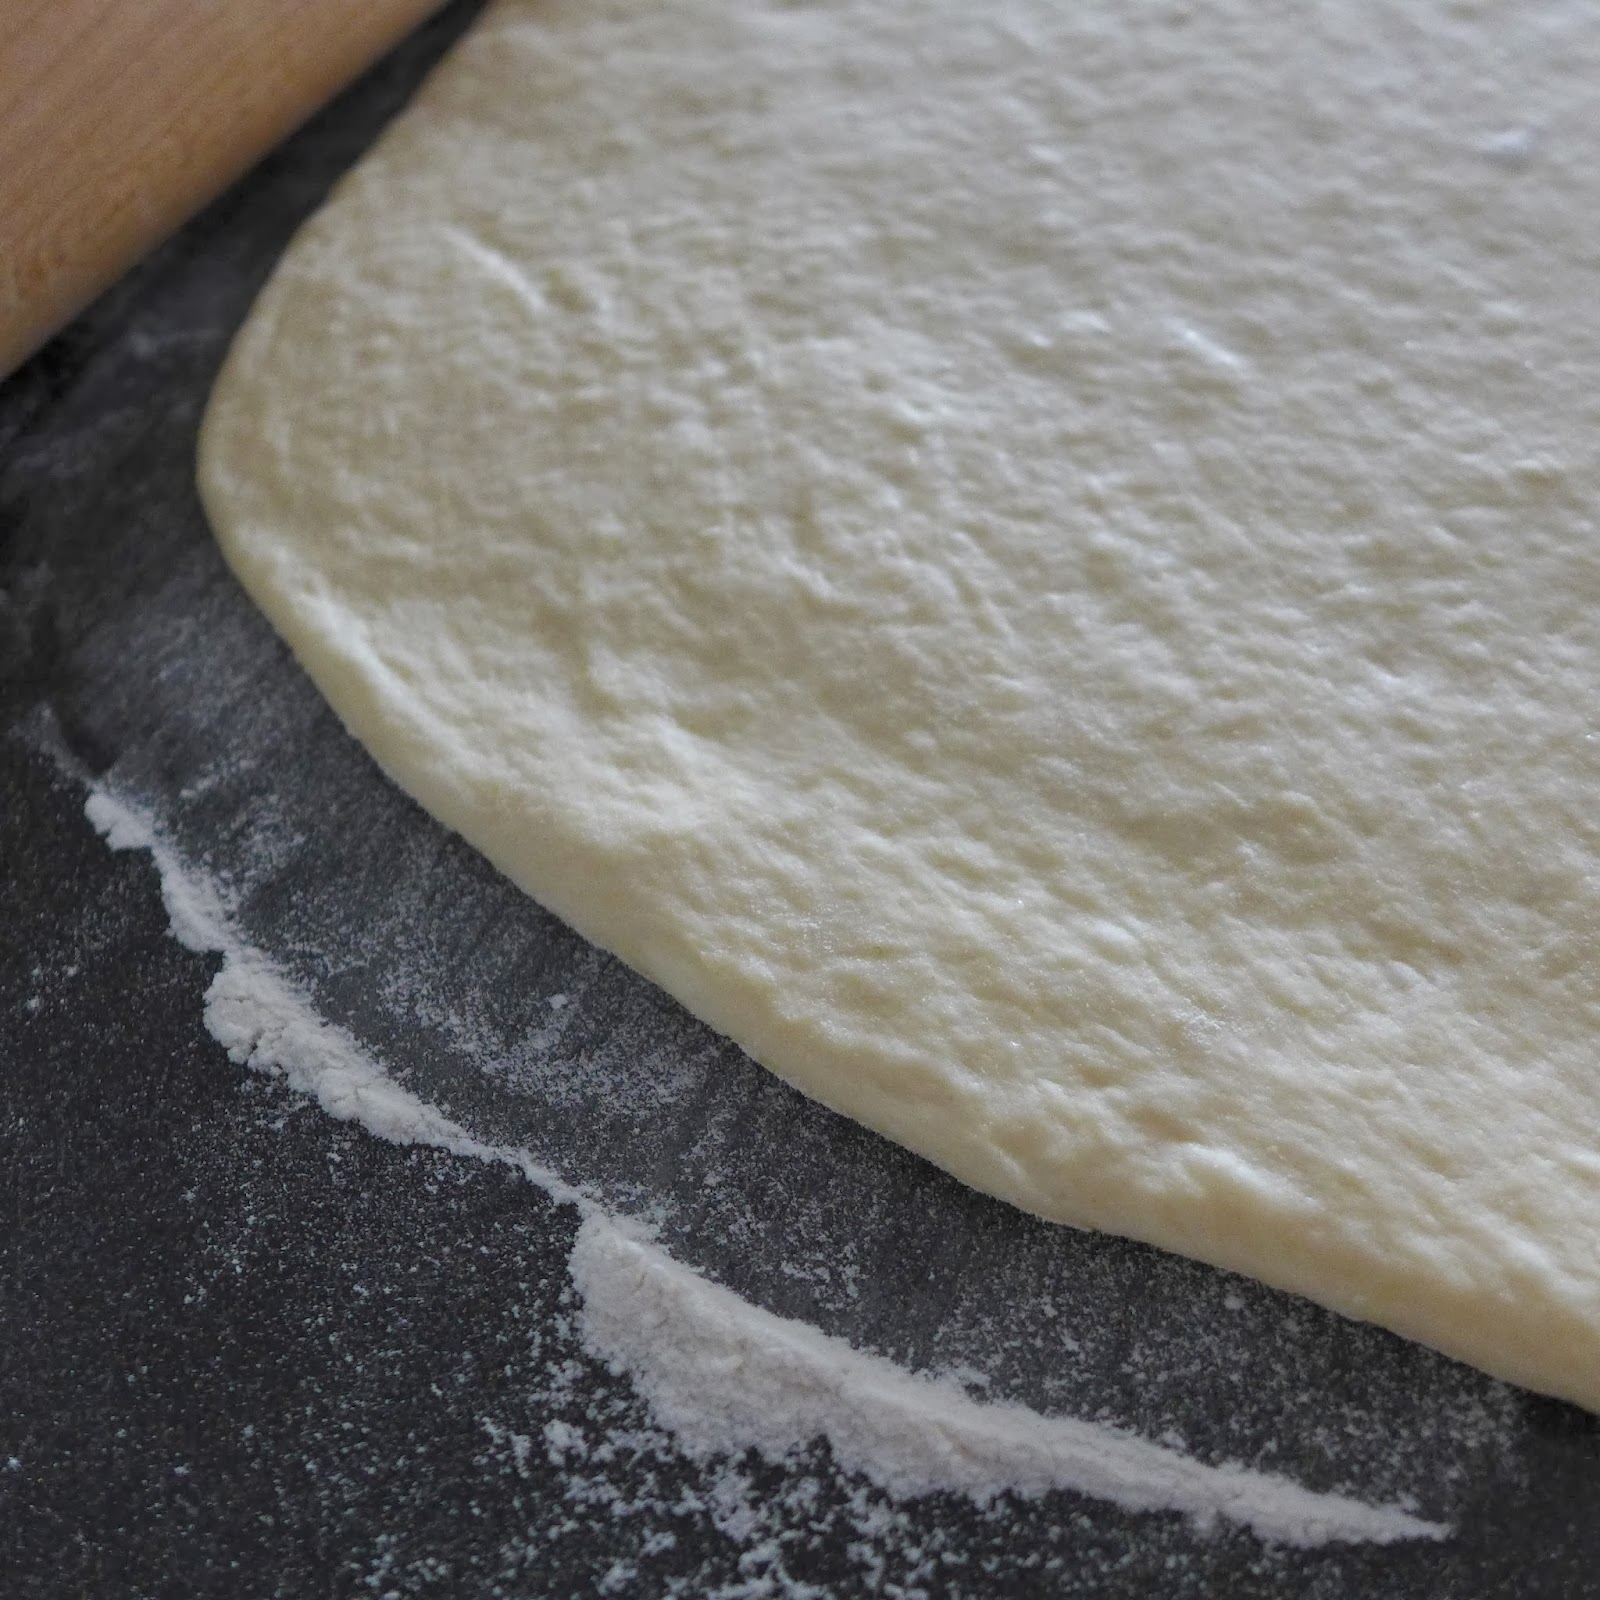
Roll out dough onto a floured surface.


Gently spread your room temp non-dairy butter onto the dough. Mix together the sugar and cinnamon and generously sprinkle it all over the buttered dough.


Using a pastry cutter or sharp knife, cut the dough into 6 to 8 strips. Then carefully stack the strips on top of each other.


Spray a loaf pan with baking spray. Cut the stack of strips into 6 slices. Place the stacks sideways into your prepared pan. Do not cram your slices into the pan. ***If you have leftovers, spray a small loaf pan or even a cupcake muffin tin and place your leftover slices in that.***

Cover your pan with a dish towel and allow to rise for 20 - 30 minutes. Preheat your oven to 350ºF. Place your loaf pan in the oven and bake for 30 minutes, checking at 20 minutes to make sure it's not getting too brown on top. ***Since I was using disposable tin pans, I placed my pans on a cookie sheet while it baked in the oven.*** It's important to bake your bread completely to ensure that the middle isn't doughy, because if it is it won't pull apart easily. After 30 minutes, I continued to bake mine in 5 minute increments. Total baking time for me was between 40 - 50 minutes. ***If the bread seems to be getting too brown, tent it with a little aluminum foil.***

Remove the pan/s from the oven when the bread's done. Run a little knife along the sides  and gently take the bread out of the pan. 


Mix together the icing ingredients and generously drizzle over the top, allowing it to sink into the crevices. Super delicious warm, but also good at room temp.