Friday, August 31, 2012

homemade cheez-it cheese crackers

It's my husband's birthday and since I never know what to get him, I always try and make him something special. I mean really, who complains when they receive a gift that is edible???


Possibly one of my husband's favorite sweets is a No Bake Cheesecake with blueberry sauce and hands down for a savory snack it's Cheez-Its. He flew on a red-eye last night and as he was flying in the friendly skies, I was in the kitchen whipping up his birthday presents. 

This is actually the second time I've ever made homemade Cheez-Its because frankly it's just easier to go out and buy a box. But since I was desperate for a gift for my hubby, Cheez-its were made.....

Homemade Cheez-It Cheese Crackers
adapted from the recipe found on Chicagoist 

1 cup all-purpose flour
1/2 teaspoon kosher salt plus another 1/2 teaspoon for sprinkling
1/2 teaspoon dry mustard powder (optional)
1/4 teaspoon cayenne pepper
1/4 teaspoon paprika 
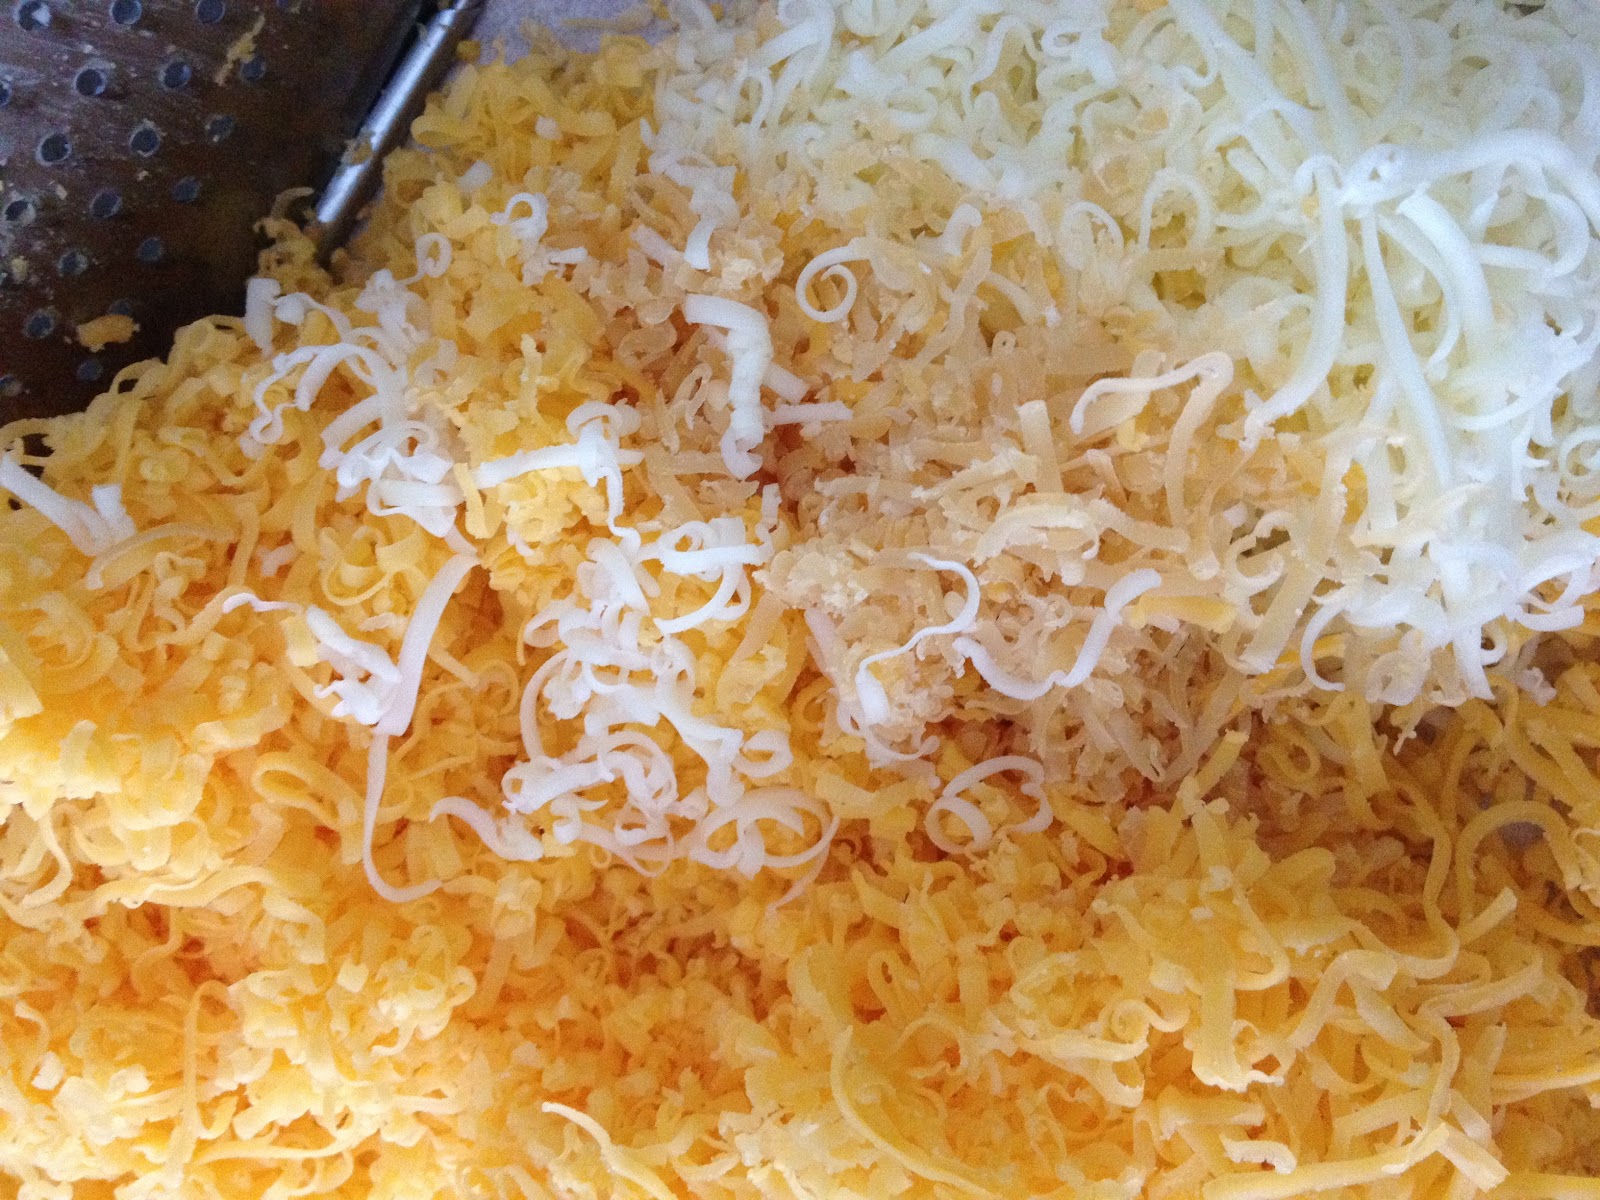
8 ounces grated cheddar cheese ***I used what I had in my frig - a combination of Cheddar, Monterey Jack, and a hard aged Gouda.***
4 tablespoons unsalted butter - cold and cut into cubes
2 - 3 tablespoons ice cold water

In a bowl of a food processor, pulse to combine -  flour, 1/2 teaspoon of kosher salt, dry mustard powder, cayenne pepper and paprika. Add the grated cheese and pulse 3 - 4 times. Drop in the cubed butter and pulse a few more times until the mixture looks crumbly. Add the ice cold water one tablespoon at a time. The dough will look moist and will hold it's shape when pinched together. Dumb the moist cheesy clusters onto a piece of plastic wrap, gather it together and gently press it into a disk. Wrap the dough up and place it in the frig for at least 30 minutes.

In the meantime, line two baking sheets with parchment paper. Preheat your oven to 350°.

Cut your disk of dough in half. On a lightly floured surface roll your dough out to 1/8 inch thick. 

Using a fluted pizza wheel or a plain old knife, cut into small 1 inch squares. A straight edge or a ruler helps with keeping the crackers square. 


Using the blunt side of a wooden skewer poke a hole in the center of each cracker. 


Sprinkle with 1/4 teaspoon of kosher salt. Transfer your crackers onto your parchment lined baking sheet and repeat steps with the other half of dough.
Bake your crackers for 25 - 30 minutes. Rotating halfway through baking. All ovens are different so your baking time will vary. Remove from oven and cool completely. ***One of my sheets of crackers came out soft after baking and cooling. I turned my oven on again and baked them for an additional 3 -5 minutes. Keeping my eye on them so that they didn't burn.***

Homemade Cheez-Its can be stored in an airtight container for a few weeks. That's if they last that long.

Thursday, August 30, 2012

leopard & zebra print cookies for chilly


Chilly's faves. Leopard & zebra print. Pink & Purple. And hopefully sugar cookies.....


You're 7 !!!!!!!

Happy Birthday Chilly!!!


Sunday, August 5, 2012

whole wheat, peanut butter & banana breakfast cookies

Breakfast to go? Bake up a batch of these whole wheat, peanut butter and banana cookies.....

adapted from A Few Short Cuts
makes 18 cookies

INGREDIENTS
2 bananas - ripe
1/3 cup creamy peanut butter
1/3 cup canola oil ***I used coconut oil***
1 cup brown sugar ***I used a combination of 1/2 cup date sugar and 1/4 cup coconut palm sugar***
1 teaspoon vanilla extract
3 1/4 cups whole rolled oats
1/4 cup all-purpose flour ***I used whole wheat flour. But you can also use a gluten free mix but make sure all of your other ingredients are also gluten free.***
1 teaspoon baking powder
1 teaspoon baking soda
1/2 teaspoon kosher salt

Preheat oven to 350° and line two cookie sheets with parchment paper.

In a bowl, mash bananas and add peanut butter. Mix until combined. Add oil and vanilla. Mix again. Add sugar and mix until until everything is thoroughly combined. In a separate bowl, combine the oats, flour, baking powder, baking soda and salt. Slowly fold the oat mixture into the banana mixture until everything is combined. Using a 2 ounce cookie scoop, scoop mounds of dough onto your prepared cookie sheets, about 2 inches apart. Gently press down your cookies so that they are flattened slightly. Bake for 12 - 15 minutes, rotating your sheets halfway through baking time. Leave on cookie sheets for 5 minutes before transferring them to a cooling rack. 


These breakfast cookies aren't too sweet and have a chewy granola bar texture. 

Try turning them into breakfast thumbprint cookies by adding a little natural jam in their centers. 

Or substitute almond butter for the peanut butter. 

And if you're feeling naughty, add a few chocolate chips.


Individually wrap them in pieces of parchment paper and store them in your freezer. 

Friday, August 3, 2012

agua de sandia

I am counting the days until I can escape from New York and soak in the almost perfect SoCal sunshine. Let's face it, August in NY is not pretty. You're not pretty. It's hot. It's humid. Sticky. And just plain gross.


Staying hydrated is super important during these dog days of summer. Water is your number one, but sometimes you want something else. That something else is agua de sandia, also known as watermelon water/juice.


Making your own aguas frescas is so easy! The hardest part is picking out fresh and juicy fruits. When it comes to picking out a watermelon, I cross my fingers and hope for the best.


Since you'll be processing the watermelon in either a blender or food processor, you don't have to worry about buying a seedless watermelon. Although what I thought was "seedless", it wasn't. Mine had a few seeds.....


There isn't really any special way to cut up a watermelon. Simply cut in half, cut into pieces you can handle, cut off the rind and roughly chop up into pieces. You're only interested in the red and juicy flesh. 

INGREDIENTS
a watermelon
lime juice
sugar (optional) or sugar syrup
cold mint tea (optional)

Add about 3 cups of chopped melon to a food processor or blender. Pulse until the melon is completely broken down and is mostly liquid. 

Place a sieve or strainer over a bowl or pitcher and strain out the pulp. Continue with the pulsing and straining process until you have used up all of your fruit.


Now is the time to taste your pure juice. You may want to add a little sugar or even better, sugar syrup and a squirt of lime juice to it. You can also stretch the juice by adding just a little bit of regular water. I instead like to dilute my agua de sandia with cold mint tea.


Wednesday, August 1, 2012

my favorite breakfast smoothie

I haven't been baking much because it's just too darn hot & humid. Period. Instead, I've been making things to keep us cool and refreshed like aguas frescas and frozen treats. Today I was inspired by my friend Mary who is a writer, fitness nut and a nutritional guru who also happens to have her own blog, Daily Dose Wellness. Like her FB page too because she blogs daily about tons of good stuff! Mary's post today talked about the importance of eating breakfast. Sometimes eating breakfast means eating-on-the-go or sipping on a smoothie. So in honor of Mary, DDW, and her blog post today I'm going to share my favorite breakfast smoothie and I hope she approves.


My favorite breakfast smoothie is similar to the one that is made at my local organic food market. I just can't afford buying one on a regular basis, so I constantly have many of the ingredients on hand so that I can save a few bucks and make my very own.


INGREDIENTS
1 banana  - cut up and frozen is best but not necessary
15 (roughly 1/2 ounce) or more organic raw cacao beans - depending how "chocolatey" you want it 
1/3 cup whole rolled oats 
1 cup unsweetened almond milk - you can substitute soy, rice, oat or regular old milk
2 heaping tablespoons of almond butter
1 - 2 teaspoons of honey - optional
2 ice cubes - if your banana is not frozen

In a blender pulse oats and raw cacao beans until they are almost powdery. Add the almond milk, frozen banana, almond butter, honey and ice cubes and blend. 


Organic Raw Cacao Beans can been a little pricey but are worth every bean. I love adding them to my smoothies because you get a chocolately taste and a good hit of pure energy. Cacao beans are also groovy because they contain a natural rich supply of antioxidants and are an excellent source of dietary fiber. Blend them with a frozen banana, a handful of oats, almond butter and almond milk and you'll have breakfast to go.....